使用VuePress搭建知识库并推送到GitHub Pages
简介
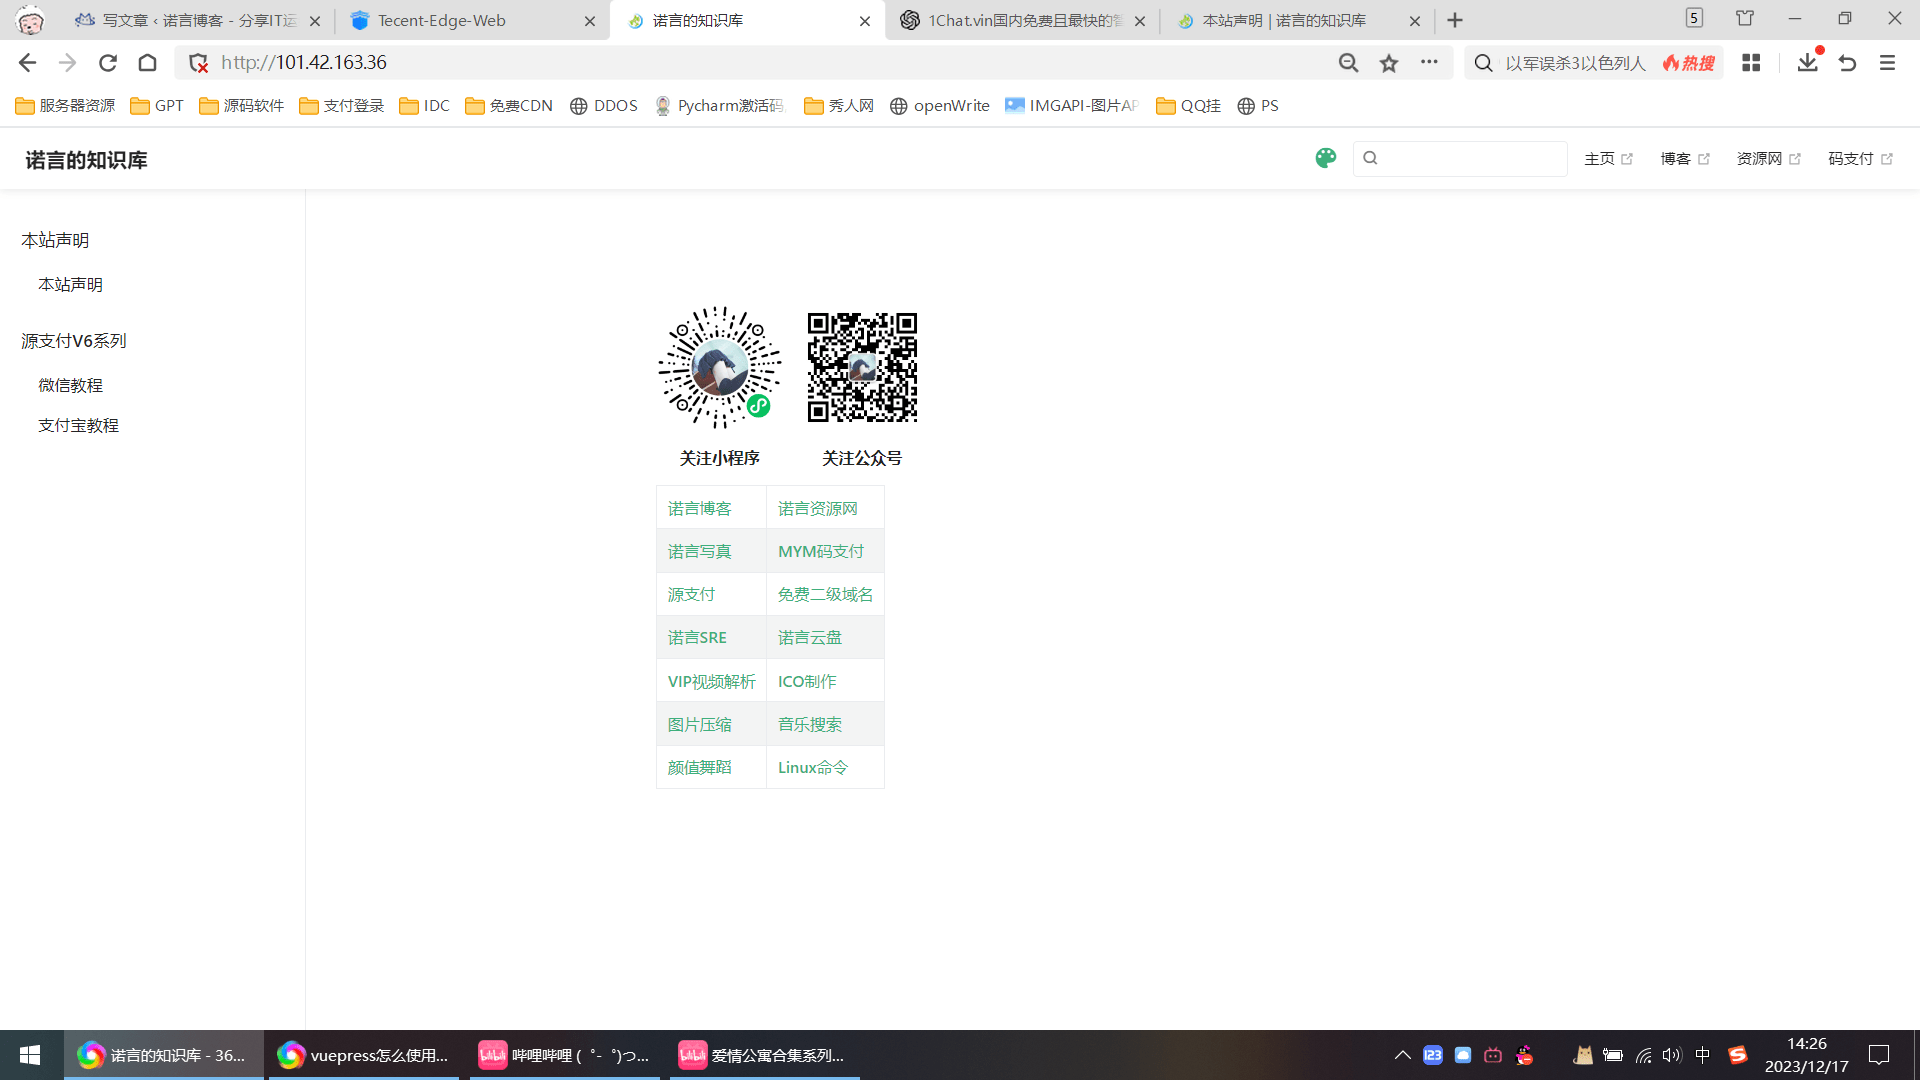
突发奇想搭建一个知识库文档接口展示页面,看了很多最终选择了vuepress,展示

前期准备
1.安装nvm和nodejs可以看我之前这篇文章(我是用的宝塔面板中的nodejs)
2.创建新目录
mkdir vuepress && cd vuepress
npm init #yarn init
3.安装VuePress为本地依赖
npm install -D vuepress # yarn add -D vuepress
4.创建一篇文档
mkdir docs && echo '这是知识库的介绍' > docs/README.md
5.在package.json中添加一些 ++scripts++
{
"scripts": {
"docs:dev": "vuepress dev docs",
"docs:build": "vuepress build docs"
}
}
6.启动本地服务器
npm run docs:dev #yarn docs:dev
VuePress 会在 http://localhost:8080启动一个热重载的开发服务器。
7.packages.json完整内容如下:
{
  "devDependencies": {
    "vuepress": "^1.9.10"
  },
  "scripts": {
    "docs:dev": "vuepress dev docs",
    "docs:build": "vuepress build docs"
  },
  "dependencies": {
    "vuepress-theme-reco": "^1.6.17"
  }
}
8.我使用了宝塔面板的nodejs管理器来保持进程长时间运行
基础配置
1.在docs创建一个.vuepress文件夹,.vuepress下再创建config.js文件,Vuepress的配置由config.js文件内容决定。这里我们的项目结构可能是这样的:
├─ docs
│  ├─ README.md
│  └─ .vuepress
│     └─ config.js
└─ package.json
2.配置config.js
module.exports = {
    title: '诺言的知识库',
    description: '诺言,微信搜索「诺言资源库」关注我,长期交流学习。',
}
添加导航栏
给首页的上方添加导航栏,config.js修改:
module.exports = {
    title: '诺言的知识库',
    description: '诺言,微信搜索「诺言资源库」关注我,长期交流学习。',
    themeConfig: {
        logo: 'https://www.linglan01.cn/favicon.JPG',
        //顶部导航栏
        nav: [
            { text: '主页', link: 'https://nuoyo.cn/' },
            { text: '博客', link: 'https://www.nuoyo.cn/' },
            { text: '资源网', link: 'https://zy.nuoyo.cn/' },
            { text: '码支付', link: 'https://pay.nuoyo.cn/' },
        ],
    }
 }
添加侧边栏
我们在docs文件夹下,创建introduce文件夹,可以随便命名,此时结构如下:
├─ docs
│  ├─ README.md
│  └─ .vuepress
│     └─ config.js
|   └─ introduce
|            └─ haha.md
|            └─ README.md
└─ package.json
配置config.js如下:
module.exports = {
    themeConfig: {
        nav:[...]
        sidebar: [
            {
                title: '侧边栏分组1',
                collapsable: false,
                sidebarDepth: 1,
                children: [
                    '/introduce/',//自动获取README.md
                    '/introduce/haha'
                ]
            },
        ],
    },
}
更换主题
社区有vuepress-theme-hope、vuepress-theme-reco等主题,可以根据喜好选择。
这里我们以vuepress-theme-reco为例,现在安装vuepress-theme-reco:
npm install vuepress-theme-reco --save-dev
# or
yarn add vuepress-theme-reco
config.js配置:
module.exports = {
    // ...
    theme: 'reco'
    // ...
}
添加文章信息
我们的文章必需要标题,可能需要展示文章作者信息、创建日期等信息,我们可以给文章的md文件添加一些信息修改:
---
title: 本站声明 #文章标题
author: 诺言 #作者
date: '2023-12-17' #日期
tags: #标题
  - 知识库
  - 文档
  - 接口
---
设置语言
Vuepress默认使用en-US,所以日期我们明明设置的是2023-10-24,但它页面展示的是10/24/2023 。
这里修改config.js:
module.exports = {
    // ...
    locales: {
        '/': {
            lang: 'zh-CN'
        }
     },
    // ...
}
config.js全部内容:
module.exports = {
    title: '诺言的知识库',
    description: '诺言,微信搜索「诺言资源库」关注我,长期交流学习。',
    theme: 'reco',
    locales: {
        '/': {
            lang: 'zh-CN'
        }
     },
    themeConfig: {
       series: {
      '/vuepress-theme-reco/': [ 'introduce', 'usage' ]
       },
        nav: [
            { text: '主页', link: 'https://nuoyo.cn/' },
            { text: '博客', link: 'https://www.nuoyo.cn/' },
            { text: '资源网', link: 'https://zy.nuoyo.cn/' },
            { text: '码支付', link: 'https://pay.nuoyo.cn/' },
        ],
        sidebar: [
            {
                title: '本站声明',
                collapsable: false,
                sidebarDepth: 1,
                children: [
                    '/声明/声明.md',
                ]
            },
            {
                title: '源支付V6系列',
                collapsable: false,
                sidebarDepth: 1,
                children: [
                    '/源支付V6/微信教程.md',
                    '/源支付V6/支付宝教程.md'
                ]
            }
        ]
    }
}
部署到GitHub Pages
创建仓库
1.登录github,在任何页面右上角点击+下拉菜单选择新建存储库

2. 设置owner和repository name,注意存储库命名必须是<username>.github.io,我的用户为名heardic,所以展示地址是https://heardic.github.io/
3.(可选)填写仓库说明Description,介绍你的存储库
4. 选择仓库可见性
5. 勾选“使用README初始化此存储库”
6. 完成设置后,点击Create repository
创建站点
1. 在github上导航到已经创建好的仓库,点击Settings确定站点要使用的发布源。

2. 在Code and automaton部分,选择pages
3. 如果要查看已经发布的网站,可以选择visit site

部署推送
1、在docs/.vuepress/config.js 中设置正确的 base。
如果打算发布到 https://<USERNAME>.github.io/
2、发布
# 生成静态文件
npm run docs:build

# 进入生成的文件夹
cd docs/.vuepress/dist
git add .
git commit -m 'deploy'

# 如果发布到 https://<USERNAME>.github.io
# git push -f git@github.com:<USERNAME>/<USERNAME>.github.io.git master
#我的是# git push -f git@github.com:heardic/heardic.github.io.git master
这样就成功了,然后去github pages选择分支展示


